Click here for article #2.
|
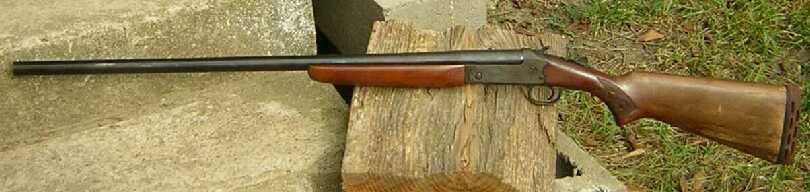
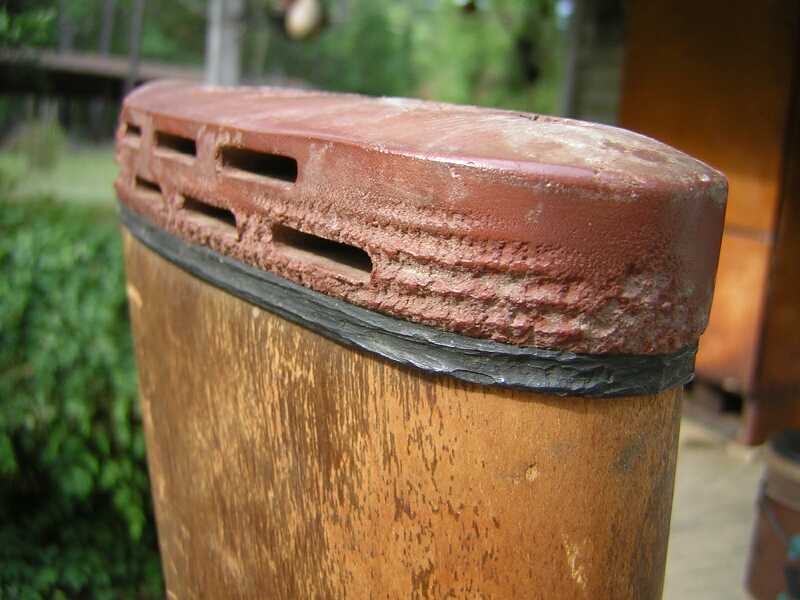
I recently found the above shotgun in a closet in my deceased father's old house, in which I now live. I'd never seen it before and neither had my siblings. Its location, in my father's closet, and its condition, rusty, spoke loudly of his ownership—he never cleaned his guns. You can see a bright spot near the end of the barrel where I actually scraped off scales of rust. Someone with sweaty hands took the shotgun out of the closet and handled it. There were rusty finger marks up and down the barrel. Worst of all, the bore had never known a cleaning swab and a drop of oil. It contained several pits.
It looked awful but was tight and well made. Actually, it was better made than my Handi-Rifles. It was built like a tank. I figured I could proof test the pitted barrel with a 3" Turkey Load via the string pulled from behind a tree method. Maybe I could use it for something. What? Whack off the way-too-long barrel to 22" or so and use it with buckshot on deer in the thickets? A Rain Shotgun mate for my Rain Rifle? Ducks in the rain? Steel shot wouldn't hurt an already hurt barrel, huh? On the right side on the receiver I could read:
Obviously the forearm snapped on and snapped off. But the logical inclination of a newbie to Stevens Model 94 shotguns would be to remove the forearm screw in order to remove the forearm, especially a newbie experienced with the more modern Handi-Rifle. In an effort to justify my own ignorance, I suppose, I could see closets all over America containing rusty old Stevens Model 94 shotguns with forearm guts hanging out. By golly, Stevens ought to have stamped the forearm DO NOT REMOVE SCREW TO REMOVE FOREARM. Take that Stevens! Back to the Internet and a search for forearm parts. I found them in bunches, reinforcing my thought about closets all over America. Some important notes before we get to parts:
Numrich Gun Parts Corp aka www.gunpartscorp.com had everything I needed. So did several other web sites. The link will take you to Numrich's generic Stevens Model 94 (*) page with a schematic. I needed part # 37 148290B Forend Spring Housing $11.85. I bent # 38 148340J Forend Spring Pin $2.25 but straightened it with my vice and a hammer. I badly bent wood screw # 36 1313140I Forend Spring Housing Screw, Original (Slotted 5/8") $3.45 but replaced it with a free one from my junk bin. As it was on page 2 and I didn't see it, I would have/should have bought NI (Not Illustrated) 148310B Forend Spring Housing Assembly $19.80. It's the housing and all the guts.
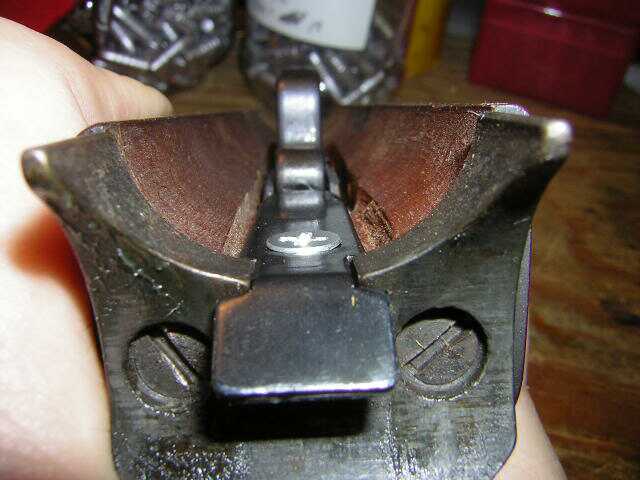
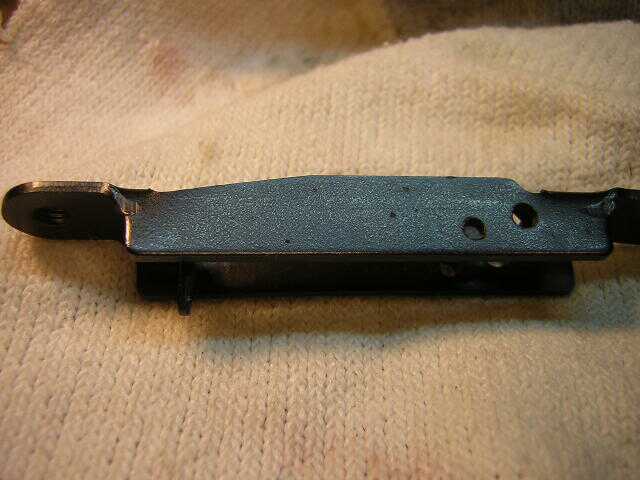
The forend spring is the S shaped flat spring in the middle. Yeah, it's hell for stout. Keep your skin from between the forearm and the barrel when you snap the forearm on. If you don't, you'll shout, "$%^&!" On the right in the repaired and ready to reinstall forearm, see my shiny, free Forend Spring Housing Screw, now a phillips screw instead of a slotted screw. On the left, see where the forearm screw screws into the housing from the other side of the wooden forearm.
I had to find one with a head taper and size to match the hole in the housing. Otherwise, the head would have stuck up and touched the barrel and created a bind. As you can see, this one sticks up a little, but it doesn't touch the barrel. The screw also had to match the bent screw's thread and length. Too long, and it would have came out on the other side of the wooden forearm. This also shows the solid steel end of my forearm. On newer Stevens Model 94 shotguns, this critical part is aluminum or even plastic like on a Handi-Rifle. This old shotgun is truly built like a tank, as I said.
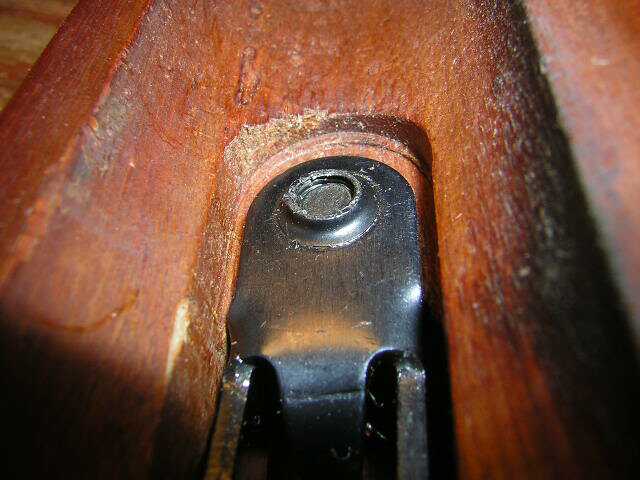
Another two threads would make for a perfect fit, and would have been easy to accomplish via slight wood removal from beneath the screw head on the other side of the forearm. But it has been working fine like you it see here for over 40 years, so I left well enough alone. The 8-40 x 1" Fillister screws I sell here for 55� work but protrude about two threads and would bind the barrel. One could easily be shortened to fit with the $10 screw shortening jig I sell on the same page. Notice the bent tab protruding into the blackness at the bottom of the photo above.
On the new Forend Spring Housing, that tab was straight. It required bending with pliers to make it fit over the lug on the barrel. That bending was the only "fitting" I had to do to install the new Forend Spring Housing. Using calibrated eyes, I simply bent it to match the bend in the broken housing. First try, it fit perfectly. The bent wood screw is the # 36 1313140I Forend Spring Housing Screw, Original (Slotted 5/8") $3.45 which I replaced with a freebie from my junk bin.
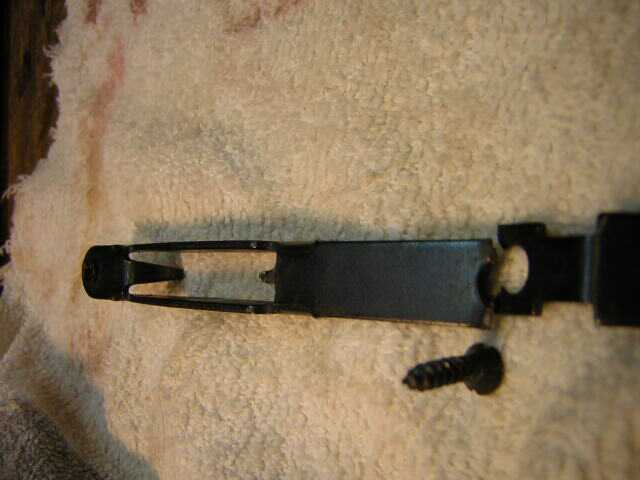
Over on the right, take a look at the barrel lug. Yours might look a little different. The bent/adjusted Forend Spring Housing tab should slide across the top of this lug. If yours doesn't, don't ask me why. All I know is, Mine did in only one try. I suspect the same housing and spring would work on most lugs except, of course, a lug for a screw-on forearm.
The rightmost, larger hole, fits the Forend Spring Pin, the pin I bent and straightened. The leftmost, smaller hole, fits the—get ready— Forend Spring Spring Pin. I could have used a toothpick to remove both pins, so there was no need for a pin punch and a hammer. Just a gentle push, and out they came. The spring spring keeps enough tension on the flat Forend Spring to make it want to stick out of the Forend Spring Housing. That makes it easier to hook the tip of the flat spring under the barrel lug when you reinstall the forearm. You could leave the spring spring and its pin out if you didn't mind using a finger to pull the flat spring out of the housing when you reinstall the forearm. But I say put them back in and fix the shotgun correctly, ok? The less-rusty but still beat up old shotgun is back in the closet until I decide what to do with it. I'm thinking a buckshot thicket shotgun with a short, handy barrel painted OD green or flat black. The forearm, receiver and stock will all stay in their abused camo finish. Watch for an eventual update. If I were you, I'd also watch gun shows and pawn shops for a dirt cheap Stevens Model 94 with a broken forearm. I bet there's hundreds of them across America. I don't think you can buy a modern shotgun as well built as an old Stevens Model 94. As you see by this article you can easily fix the forearm for about $20. Also, used barrels are out there on the Internet for $40 to $75 and in lengths and chokes galore. If you find one and fix it, I'd stamp the forearm DO NOT REMOVE SCREW TO REMOVE FOREARM
Update 9-18-11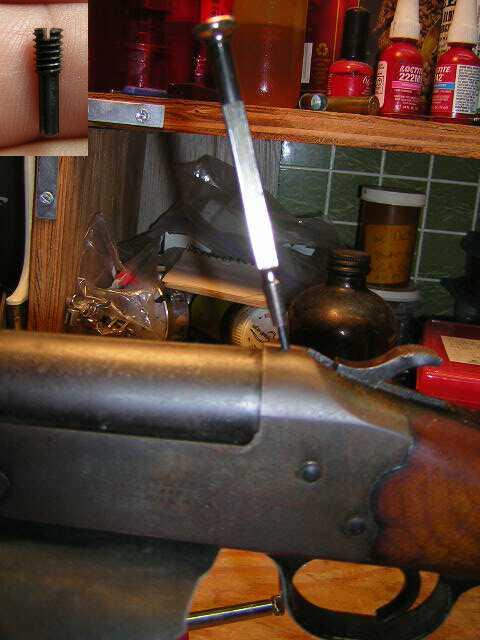 While pondering the possibility of installing a homemade peep sight in the firing pin retainer screw hole tapped in the top center of the shotgun's receiver, I took the little screw out. Lo and behold, the hole wasn't vertical as pictured in the Numrich schematic. (See #5 in the Numrich schematic)
It was drilled at an angle. Removing it required the #3 jeweler's screwdriver you see here. I stuck it in the hole to show the angle. That's the little retainer screw in the top left insert of the photo. In the removal process, using a screwdriver in the vertical position, as common sense and the schematic dictated, I boogered the threads at the entrance to the hole. It required chasing the threads with a 6-40 tap—after I finally got the screw out! This update is simply to keep the reader from making the same mistake.
|
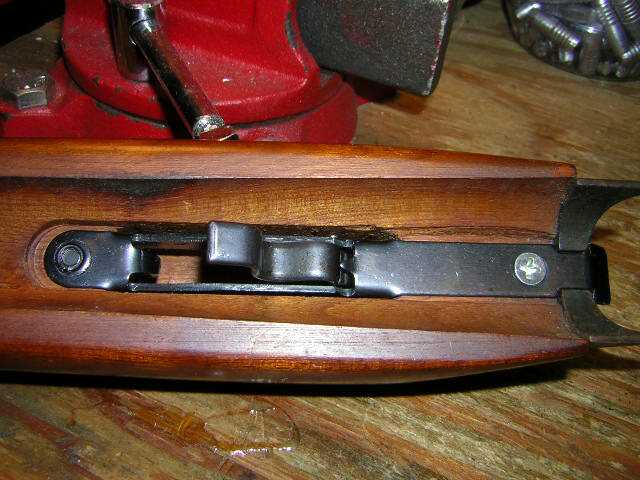
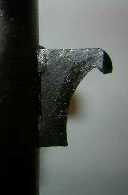
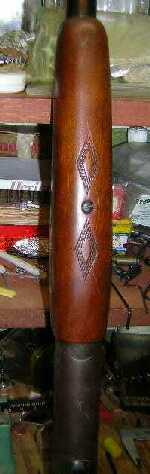 I took it apart to clean it and screwed up big time. Accustomed to Handi-Rifles, I took out the forearm screw you see on the right and gave the forearm a tug. Nothing happened. Again, harder. It moved slightly. And again. I finally gave it a mighty tug and off it came—with metal pieces hanging out of its guts.